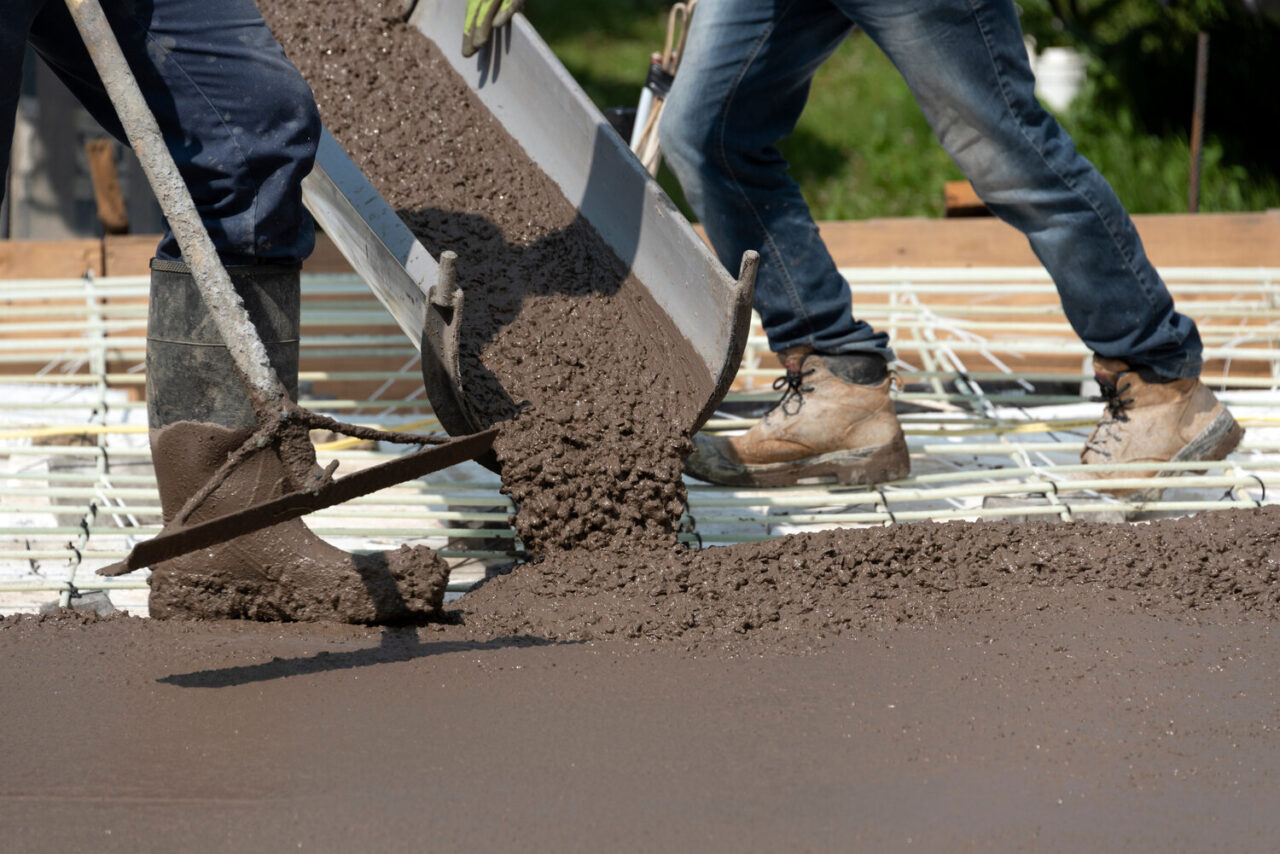
For most homes, a 4 in thick concrete driveway poured over a properly compacted granular base is appropriate. That is the long‑standing residential standard for cars and light SUVs when the subgrade is stable and the slab is jointed and cured correctly. In colder climates and on busier driveways, many concrete contractors recommend 5 in for extra margin. That extra inch does not look different, but it increases load capacity significantly and helps the driveway shrug off everyday stresses for more years.
Thickness is not the only factor to consider. A strong, professionally installed concrete driveway is a system where subgrade and base support the slab, mix design matches your climate and use, reinforcement manages cracking, and control joints guide inevitable shrinkage. When all of these factors are properly addressed, your concrete driveway or slab will exceed performance and life expectancy.
Here is a quick way to determine the right thickness for your concrete driveway. It is a simple framework, but it helps when getting quotes from contractors.
- Passenger cars and light SUVs: 4 in minimum over a compacted base
- Daily use by trucks or frequent turning near the garage: 5 in recommended, with reinforcement
- Occasional RV, boat, or trailer parking: 6 in recommended, with rebar grid in high‑stress zones
- Regular heavy loads or delivery vehicles: 6 to 7 in at pads and turning courts, with rebar, higher‑strength mix, and careful joint layout
- Edges, aprons, and curb returns: local thickening to 5 to 6 in helps resist chipping and corner stress
Reinforcement is about controlling cracks, not preventing them entirely. Fibers mixed into the concrete help during the first hours and days by reducing plastic‑shrinkage cracks. Welded wire mesh and rebar do the longer‑term work by keeping any cracks that form tighter and more uniform. For many homes, a fiber‑reinforced 4 to 5 in slab with smart jointing is enough. Where loads are higher or turning is concentrated, a #3 or #4 rebar grid in a 5 to 6 in section is a smart upgrade.
Jointing is the quiet hero. Saw cuts placed at the right spacing and depth guide the slab to crack in straight, predictable lines as it shrinks. A common rule of thumb is joint spacing in feet equal to 2 to 3 times the slab thickness in inches. That means a 4 in slab gets joints every 8 to 12 ft. Depth should be one‑quarter of slab thickness. Plan joint lines with your contractor so they land at garage door jambs, walk intersections, and layout breaks. Good joint layout makes the driveway look intentionally segmented and keeps any controlled cracks tight.
For homeowners who want to dive into the gritty details, it’s important to have a general understanding of concrete mixtures. Choose an air‑entrained exterior mix suited to your region, commonly 3,500 to 4,500 psi for residential driveways, and cure it consistently so the concrete reaches its designed strength. Seal the surface every 2 years and pressure wash once a year so it stays clean and protected. With that routine and thickness matched to how you use the space, your driveway is set up to last its full life expectancy.
Concrete Thickness Basics: How Slabs Carry Load
Concrete is very strong in compression and weaker in tension (pulling or stretching forces). A driveway slab behaves like a thin beam resting on soil. When a vehicle’s tire load presses down, the bottom of the slab near the load is placed in tension. As thickness increases, the slab’s section properties greatly improve its ability to resist that tension. That is why 5 in can feel like a big step up from 4 in, even though it is only one inch thicker.
The soil and base under the slab matter just as much. A uniform, compacted base spreads tire loads out before they reach native soils. That spreading reduces deflection and the tension demand on the concrete. Soft pockets and thin base sections do the opposite. They concentrate stress and invite cracking, even if the slab is thick on paper. This is why experienced contractors talk about thickness and base quality together and why a thoughtful bid will include both.
Standard Recommendation: Where 4 Inches Makes Sense
If your home sees passenger cars and light SUVs and your contractor confirms stable subgrade, a 4 in slab is appropriate. Pair it with a 4 to 6 in compacted granular base, air‑entrained exterior concrete mix, and joints at 8 to 12 ft spacing. Include fiber reinforcement in the mix to reduce early micro‑cracking and improve durability around saw cuts. Cure the slab consistently, then plan on the simple maintenance routine of annual pressure washing and sealing every 2 years.
This standard section works because it balances strength and cost. For many neighborhoods, it has been the reliable baseline for decades. The key is that each element supports the others: compacted base, correct jointing, and consistent curing.
When to Step Up to 5 Inch Concrete Slabs
Many homeowners and experienced concrete contractors in cold climates choose 5 in as their default. That added inch increases load capacity by a meaningful percentage, helps at turn‑in areas near the garage where steering loads are high, and adds resilience on driveways that see larger SUVs or light pickups (which we all know is super common in Minnesota). It is also a smart choice for sites with modest soil variability where the stronger section gives you a buffer against soft spots the compactor cannot fully eliminate.
It’s important to note there is a cost to that additional inch, but it is smaller than you might think when spread across an entire driveway. A quick rule for planning: added volume in cubic yards = area (sq ft) × added thickness (in) ÷ 324. For a 20 by 40 ft drive, increasing thickness from 4 to 5 in adds 2.47 cubic yards. Pair that with your concrete material pricing and you can generally estimate the additional cost. Keep in mind, this doesn’t include increases to labor, any additional reinforcement, or stronger concrete forms that might be necessary for the increased weight. For the most accurate numbers, it’s best to ask your contractor.
Despite these additional costs, many homeowners still opt for the thicker concrete for the long-term value and improved durability it has to offer.
When 6 Inches or More is Worth It
A 6 in slab is appropriate in several situations, especially if you plan to park RVs, boats on trailers, or work trucks on the driveway. Any area where vehicles will turn tightly, jackknife, or back trailers tends to concentrate stress and will benefit from the thicker section. Aprons at the street, curb returns, and the first 5 to 10 ft in front of the garage are common places to thicken even when the bulk of the driveway stays at 4 or 5 in.
For predictable heavy use, add a rebar grid to a 6 in slab. A common starting point is #3 at 18 in on center each way, supported on chairs so steel sits in the middle third of the slab. For very heavy loads or special pads, #4 rebar grid at 12 to 18 in is typical. Your contractor will match spacing to loads and slab geometry. The goal is not to eliminate cracks completely, but to limit crack width so they remain tight, unobtrusive, and easy to repair.
Reinforcement Options: Fibers, Mesh, and Rebar
Reinforcement choices help the slab behave well as it dries, shrinks, and carries vehicles. Each system has a job. Understanding those jobs lets you select the right combination rather than paying for steel you do not need or skipping steel you do.
Synthetic fibers are mixed into the concrete at the plant. They disperse through the paste and reduce plastic‑shrinkage cracking during the first hours after placement. Fibers also help toughness at the edges of saw cuts. They are not a substitute for joints or steel, but they are an excellent baseline addition for residential driveways.
Welded wire mesh (WWM) is placed in a grid. Its job is to hold hairline cracks tight and spread loads across the slab. Mesh only works if it is located at the correct depth. If it sinks to the bottom during the pour, it contributes very little. Proper support with chairs and careful placement are essential.
Rebar provides the most reliable crack control and load distribution for higher‑stress driveways. The bars must be placed and supported so they run through the tension zone. Chairs or dobies keep the steel in the right plane. Bars are typically tied at intersections so the grid acts together instead of floating apart during placement.
There is no single right answer for every home. A good contractor will look at your vehicle loads, driveway layout, soil conditions, and budget, then propose the best solution for your situation.
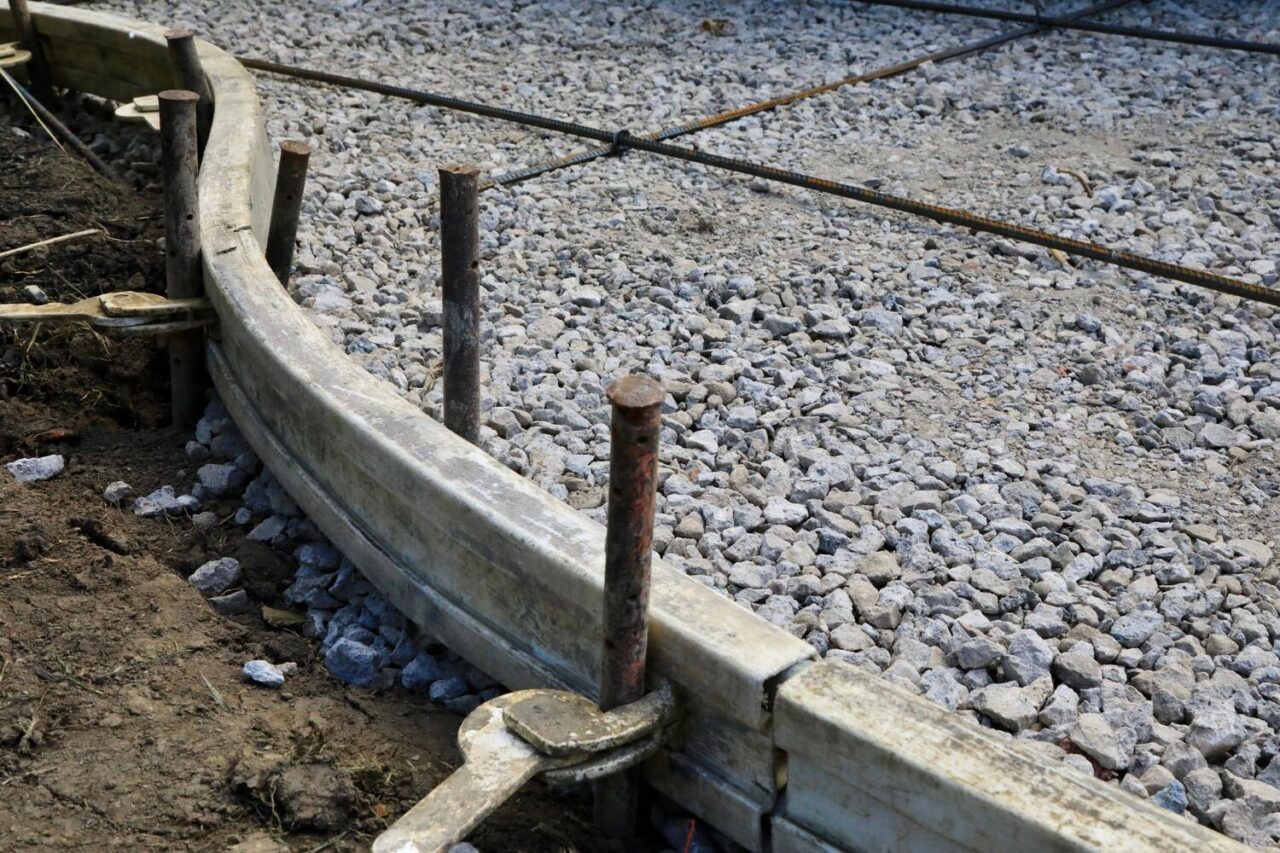
Subgrade and Base: The Foundation You Do Not See
Concrete thickness gets more attention because it is visible on the edge. Base work deserves just as much focus. The subgrade should be uniform, compacted, and free of organics. Where soils are weak or moisture‑prone, your contractor may place a geotextile and increase the granular base thickness to stiffen the platform. A common residential base is 4 to 6 in of compacted aggregate. On soft soils, 8 in or more may be recommended.
When done correctly, a flat, stiff base reduces slab bending, which reduces demand on concrete in tension. That is what keeps micro‑cracks small and the surface looking clean. When you compare bids, ask each contractor what they are planning for the base so you are comparing the same structure, not just a slab thickness.
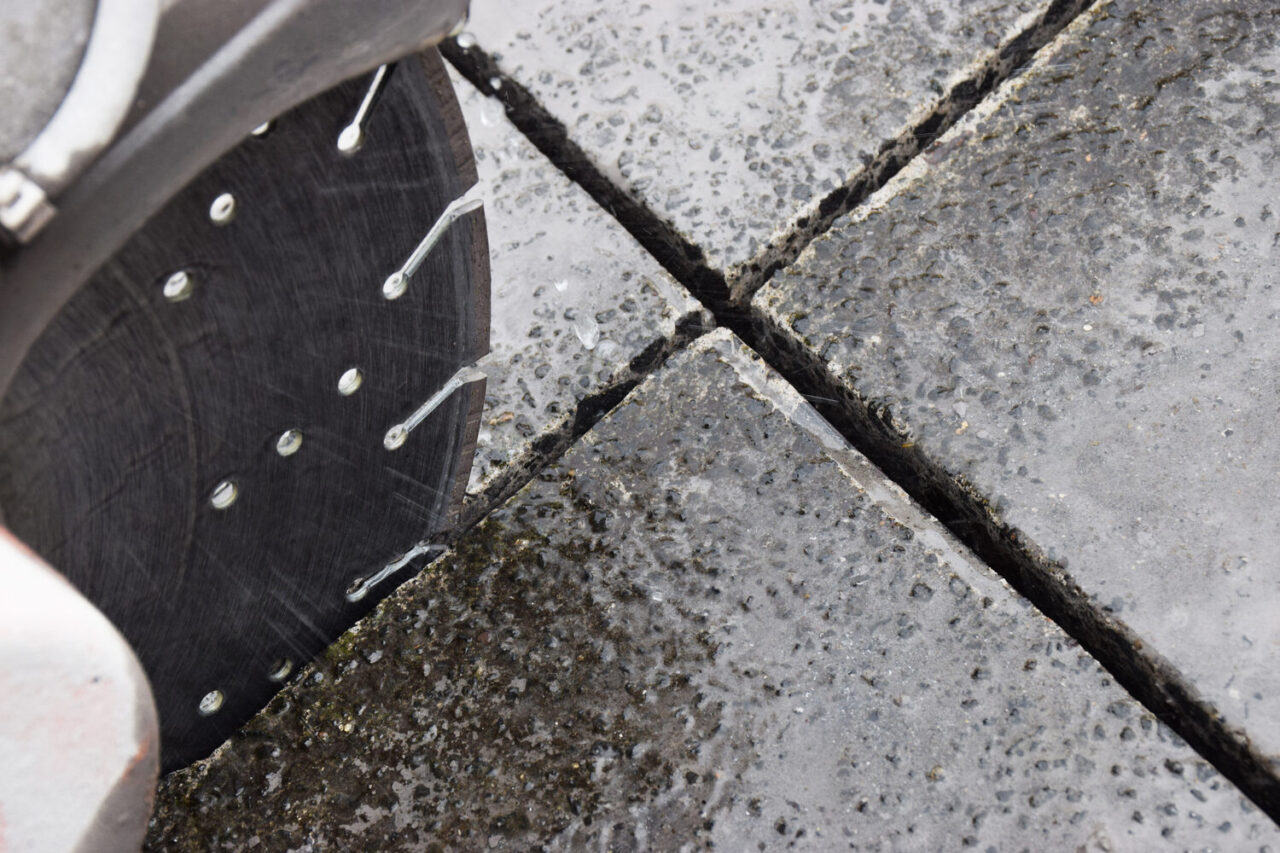
Jointing and Slab Geometry: Where Strength Meets Appearance
Control joints are planned weak lines that allow the slab to crack in a straight path as it shrinks. The key is to bake relief cuts deep enough and soon enough. Aim for one‑quarter of slab thickness for depth and cut as soon as the slab can be sawn without raveling. Late cuts risk random cracking or chipping that wanders across panels.
Layout is another important consideration that will heavily impact the overall aesthetic of your concrete driveway. Work with your contractor to align joints with garage door jambs, walk transitions, and landscape features. Keep panels as square as possible to reduce diagonal cracks. Avoid long, skinny panels. Use isolation joints at fixed points like the garage slab, stoops, and columns so the driveway can move seasonally without pushing against those structures.
A clean joint plan does more than control cracks. It gives the driveway a purposeful grid that pairs well with the architecture of the home.
Mix Design and Strength: Matching Your Concrete with Your Climate
First off, these details are fairly in the weeds and will almost always be taken care of by the contractor. But for homeowners that like to have a complete understanding of the process, here is what you need to know about concrete mix design and how it affects overall strength.
For exterior driveways in Minnesota and similar climates, a common target is 3,500 to 4,500 psi compressive strength with air entrainment. Air entrainment introduces tiny, evenly spaced bubbles that give freezing water room to expand, which improves durability in freeze‑thaw cycles. Aggregate size, cement content, and water‑to‑cement ratio all influence workability and finish quality. Your contractor and ready‑mix supplier will match the mix to placement conditions and finishing goals. Our team at Kali Concrete has a specialized concrete mixture with our supplier that we have found performs best for driveways in Minnesota.
Curing and Sealing: Locking In Strength and Appearance
Proper concrete curing is much more than just letting it dry out. Curing is the process that keeps moisture in the concrete while it gains strength. It is one of the most important steps and one of the easiest to rush. Options include curing compounds, light water misting, or temporary coverings that slow evaporation. Proper curing reduces early shrinkage and surface dusting and helps the driveway reach its designed strength.
After everything is completely cured, you need to start planning the long‑term concrete maintenance routine. Pressure wash once a year to remove winter residue, dirt, and organic stains. Apply a high‑quality sealer every 2 years to protect against moisture and de‑icing chemicals and to keep the surface looking clean. Handle small crack repairs promptly so they do not widen or collect debris. These simple steps will extend the life of your concrete driveway and ensure it looks great too.

Edges, Aprons, and Transitions: The Details that Take Most Abuse
Driveway edges, curb returns, and the apron at the street see wheel loads and steering that are harder on concrete than straight, mid‑panel traffic. Local thickening to 5 to 6 in, tighter joint spacing, and careful finishing reduce chip‑outs and corner breaks. At the garage, use an isolation joint so the driveway and garage slab can move independently. At sidewalks and public walks, expect city standards such as dowels or specific apron thickness. Your contractor will match those details to local requirements.
These are small areas in square footage, but they see a big share of stress. Treating them as a special case within the project leads to a driveway that looks clean for many seasons.
Cost Planning for Thickness Choices
Thickness decisions have a simple math backbone. The formula below lets you estimate concrete volume so you can understand cost impact before you finalize the plan.
Volume in cubic yards = area (sq ft) × thickness (in) ÷ 324
A practical example helps. For a 20 by 40 ft driveway:
- At 4 in: 800 × 4 ÷ 324 = 9.88 yd³
- At 5 in: 800 × 5 ÷ 324 = 12.35 yd³
- At 6 in: 800 × 6 ÷ 324 = 14.81 yd³
Moving from 4 to 5 in adds 2.47 yd³. Moving from 5 to 6 in adds another 2.47 yd³. Multiply those yardages by your local ready‑mix price and add a modest increase for extra placement and finishing time. That gives you a realistic sense of the upgrade. Many homeowners decide that a few extra yards are a smart trade for the added years of service and the peace of mind when larger vehicles are parked in the driveway.
Special Cases: Heated Drives, Decorative Finishes, and Slopes
Heated driveways with hydronic tubing or electric cables require careful planning so the heating elements sit at the right depth and remain protected during placement. Thickness recommendations still follow the load rules above, but the contractor must coordinate reinforcement and jointing with the heating plan to avoid damage and to allow slab movement without stressing tubing.
Decorative stamping and integral color do not change structural thickness targets. They do add finishing steps and sometimes deeper surface relief. In those cases, many homeowners lean toward 5 in for a little extra stiffness, especially near tight turns. Keep joint layout clean so decorative pattern lines and control joints work together rather than fighting each other.
Slope is designed during layout so the driveway drains away from structures and toward approved drainage paths. It is not a maintenance task and should be handled by the contractor at install with grade checks and forms set to the planned pitch. If your contractor says anything otherwise… run.
Common Mistakes To Avoid
A few recurring errors are responsible for most driveway issues. Understanding them gives you the language to prevent them on your project. Read the bullets, then the paragraph after the list ties them together.
- Skipping base improvement on soft soils when the slab thickness looks generous
- Placing mesh or rebar without chairs so steel ends up at the bottom of the slab
- Cutting joints too shallow or waiting too long to saw
- Underestimating stress at edges, aprons, and turn‑in areas
- Adding site water freely to “help finish” and inadvertently changing the mix
These missteps all shorten service life in different ways. A thin or uneven base lets the slab bend too much, which invites wider cracks. Steel at the bottom does little to control tension where it matters. Late or shallow joints permit random cracking that wanders across panels. Edges and aprons take hard hits and need local thickening to survive. Extra water changes color, increases shrinkage, and weakens the surface paste. A qualified contractor addresses each of these points as part of the plan so your thickness choices pay off, but it’s good to keep in mind when they are installing your driveway.
How to Talk Thickness and Reinforcement with Your Contractor
A clear, respectful conversation sets expectations and avoids surprises. Start by describing how you will use the driveway, including any trailers, RVs, or work vehicles that might visit or park. Ask your contractor to propose a section that covers base thickness, slab thickness, reinforcement type and location, joint spacing and layout, and any local thickening at aprons and edges. Request a simple sketch of joint lines over the driveway footprint. If you are considering a decorative finish, ask how joint lines will be integrated so the pattern reads well.
A good plan on paper becomes a clean, durable driveway on the ground. Paying attention to thickness in the context of that plan is the surest way to get the outcome you want.
Exceeding Expectations with Every Driveway
If you happen to be in Minnesota and want a driveway that looks great and lasts, choose Kali Concrete. We bring 40+ years of experience and a proudly local team of concrete professionals with no outsourced crew members. The owner is on every job site to make sure details are handled correctly, from base preparation to joint layout and everything in-between, every detail is watched carefully to ensure best results.
Whether you are planning a new concrete driveway, a textured patio, or a pool deck, we are here to listen to your goals and provide the best solution for your home. Contact Kali Concrete today for a free consultation and let’s build concrete that stands the test of time.