If you are wondering how to seal a concrete driveway, try to think of it in three parts: choosing your sealer, preparing the slab, and applying the sealer in thin, even coats. For most broom‑finished or integrally colored driveways, a penetrating silane or silane‑siloxane sealer is the best choice because it protects against water and de‑icing salts without changing the appearance or making the surface slippery. For decorative stamped driveways where you want a richer tone or light sheen, a high‑quality acrylic film‑forming sealer can work well, but you must use non‑slip additives and plan on more frequent re‑sealing.
Preparation is the make‑or‑break step. Clean thoroughly, remove oils and tire marks with a degreaser, wash the entire surface uniformly, rinse well, and let the driveway dry completely. A simple water‑drop test confirms readiness: if water soaks in evenly rather than beading in random patches, the pores are open and clean. Sealing before the concrete is dry leads to whitening and poor adhesion, so give yourself a 24 to 48 hour weather window after washing.
Here are the 5 simple steps you need to take to successfully seal your concrete driveway:
- Step 1: Confirm the concrete is fully cured if new, usually 28 to 30 days or per your contractor’s instructions.
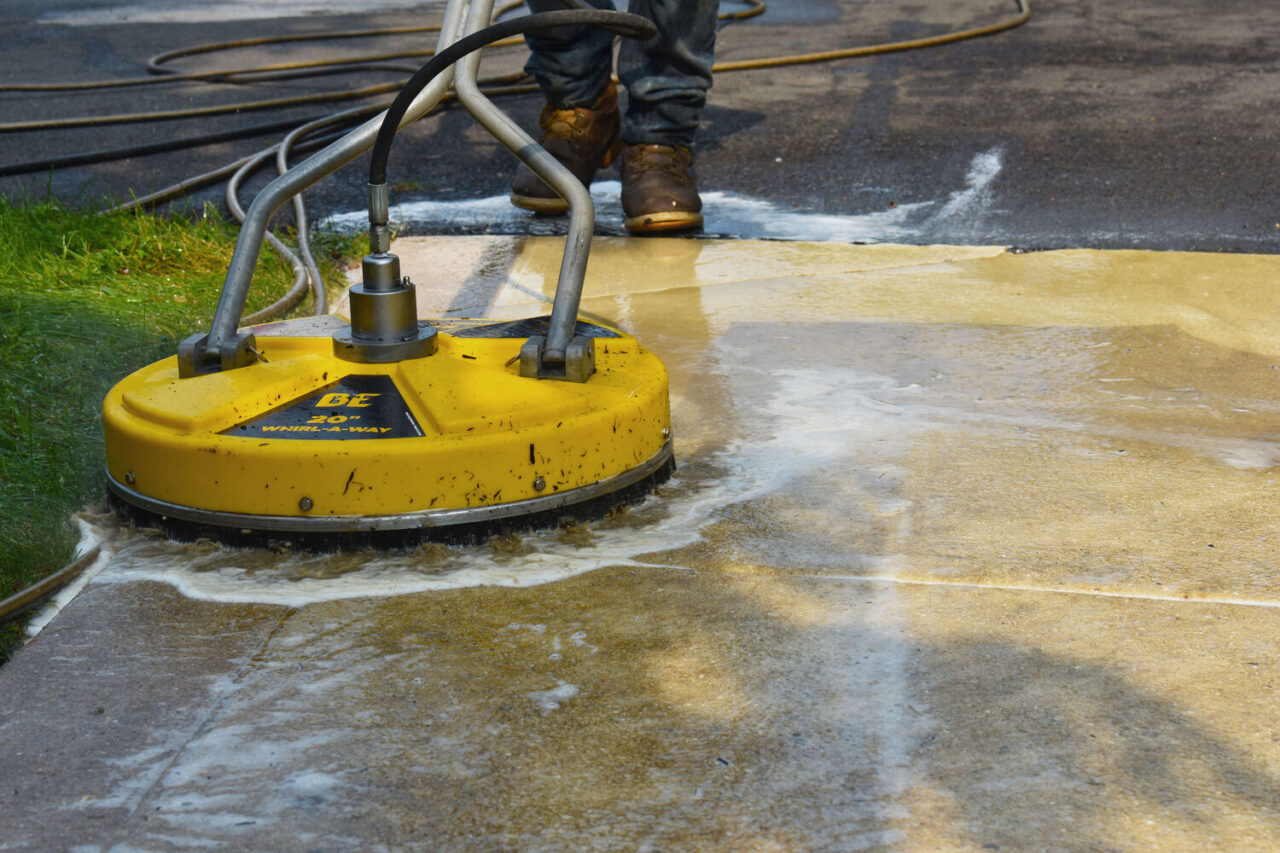
- Step 2: Deep clean, spot treat stains and marks, then pressure wash and rinse thoroughly.
- Step 3: Allow the space to completely dry, then perform a water‑drop test in several locations (this confirms the concrete is actually dry).
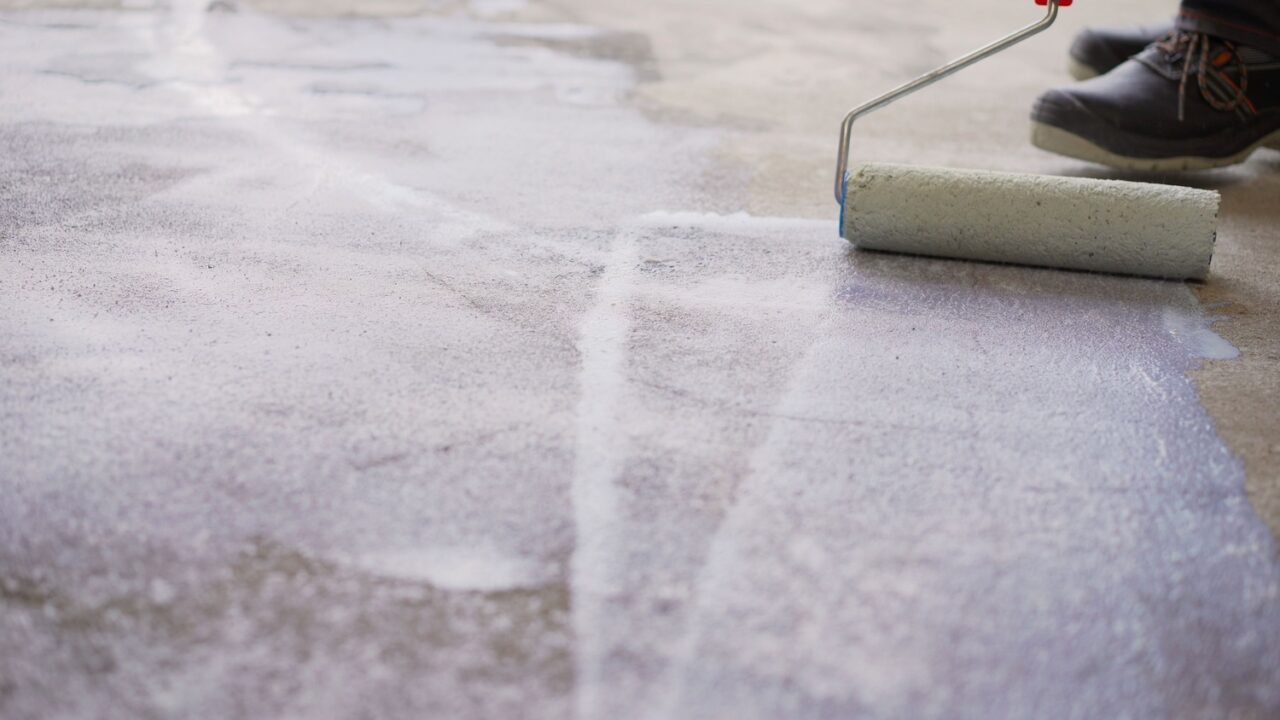
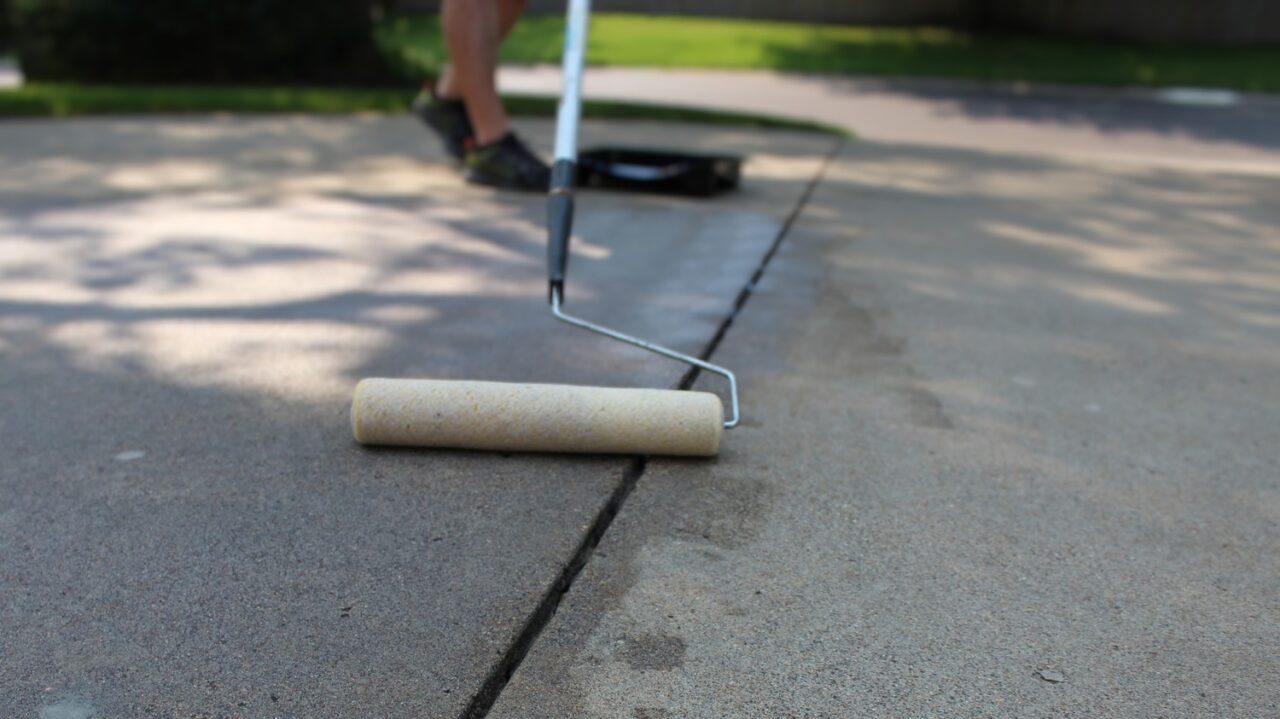
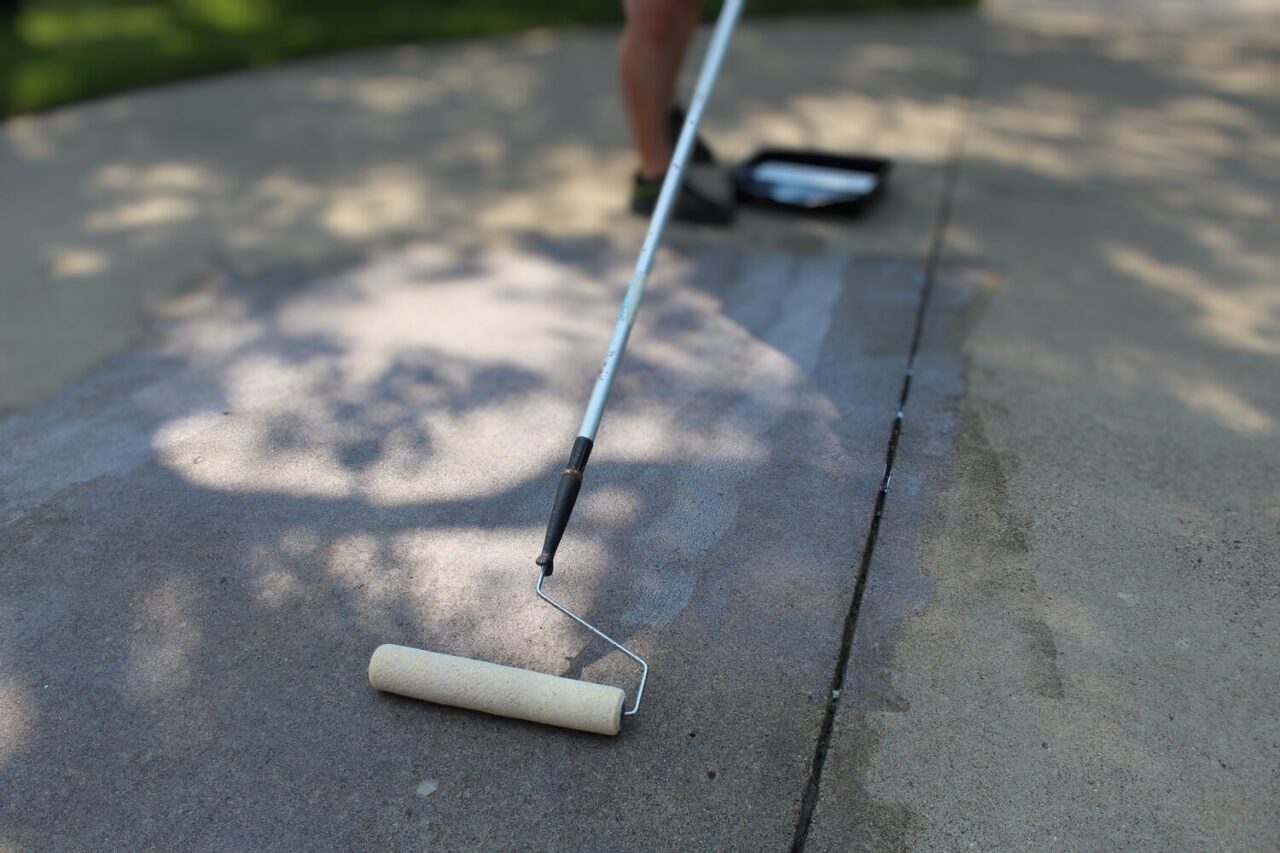
- Step 4: Apply the sealer in thin, even passes: penetrating sealers are typically two wet‑on‑wet passes, acrylics are two thin coats with light back‑rolling
- Step 5: Respect recoat times and cure before traffic: many sealers allow foot traffic in 24 hours and vehicles in 48 to 72 hours
That is the quick overview you need to know about sealing your concrete driveway. A few final notes: Sealing is an important step to do every 2 years. But before worrying about sealer, it’s important to repair or fill any cracks in your concrete. While sealer can help prevent cracks from forming in the first place, it will not stop existing cracks from getting worse. Those require dedicated fixes.
If you’re looking at your driveway and starting to wonder if it’s a little too rough to bother with sealing, it might be time to consider contacting a professional for resurfacing or replacing. If you happen to be located in Minnesota near the Twin Cities, make sure to contact our team at Kali Concrete. Whether you’re looking for a new concrete driveway installation, or a beautiful stamped concrete patio for the backyard, our team is here to help!
Why Sealing a Concrete Driveway Matters
A good sealer does two jobs for homeowners: it shields the slab from water, salt, oil, and grime, and it helps the driveway stay clean and even‑toned between washes. In cold regions, de‑icing chemicals and repeated freezes can wreak havoc on unsealed concrete. Penetrating sealers reduce absorption so water and salts sit at the surface rather than soaking into the pores. Film‑forming sealers create a protective layer that is easy to hose off and that can enrich color on decorative work. Either way, sealing concrete driveway surfaces extends service life and makes seasonal cleanup faster.
There is a design benefit too. A properly chosen sealer can make integrally colored concrete look a touch deeper without gloss, or it can give a stamped pattern a low satin finish that highlights texture. The key is to match product type to both the finish and your maintenance preferences.
Choosing the Right Sealer for a Driveway
Picking the right product is the first decision. Use this breakdown to match sealer type with your finish and goals.
Penetrating Silane or Silane‑Siloxane Sealers
These soak into the slab and line the pores, reducing water and salt absorption without changing the look or surface profile. They are breathable and highly resistant to freeze‑thaw cycles, which makes them the top choice for most broom‑finished or integrally colored driveways. Many last 3 to 5 years per application depending on exposure.
- Best for: plain or lightly textured driveways where traction and natural appearance are priorities
- Pros: invisible protection, no slip issues, strong salt resistance, easy re‑application
- Considerations: will not add sheen or dramatically deepen color
Acrylic Film‑Forming Sealers: Water‑Based or Solvent‑Based
Acrylics create a thin film that can add mild sheen and deepen color, which looks great on stamped or decorative driveways. They are straightforward to apply and easy to refresh, but they require more frequent maintenance than penetrating sealers and can be sensitive to hot tire pickup if applied too thick.
- Best for: decorative stamped driveways and borders where color pop is desired
- Pros: enhances color, easy to apply, easy to recoat
- Considerations: add non‑slip additive, apply thin coats, plan on more frequent re‑sealing
Avoid High‑Build Coatings for Exterior Driveways
Epoxy and urethane systems are often too rigid or non‑breathable for exterior slabs and can trap moisture. They are excellent for interiors but not recommended for sealing concrete driveway surfaces exposed to weather and de‑icing chemicals.
When in doubt, choose a high‑quality penetrating sealer for a standard driveway. It protects without changing traction and keeps maintenance simple.
How to Prepare a Driveway for Sealing
Preparation sets the stage for a clean, durable result. If your concrete driveway is new, it should have a sealer already applied by the contractor. If not, contact them to find out the proper cure time before applying sealer. Most exterior concrete needs 28 to 30 days before sealing, sometimes longer in cool weather.
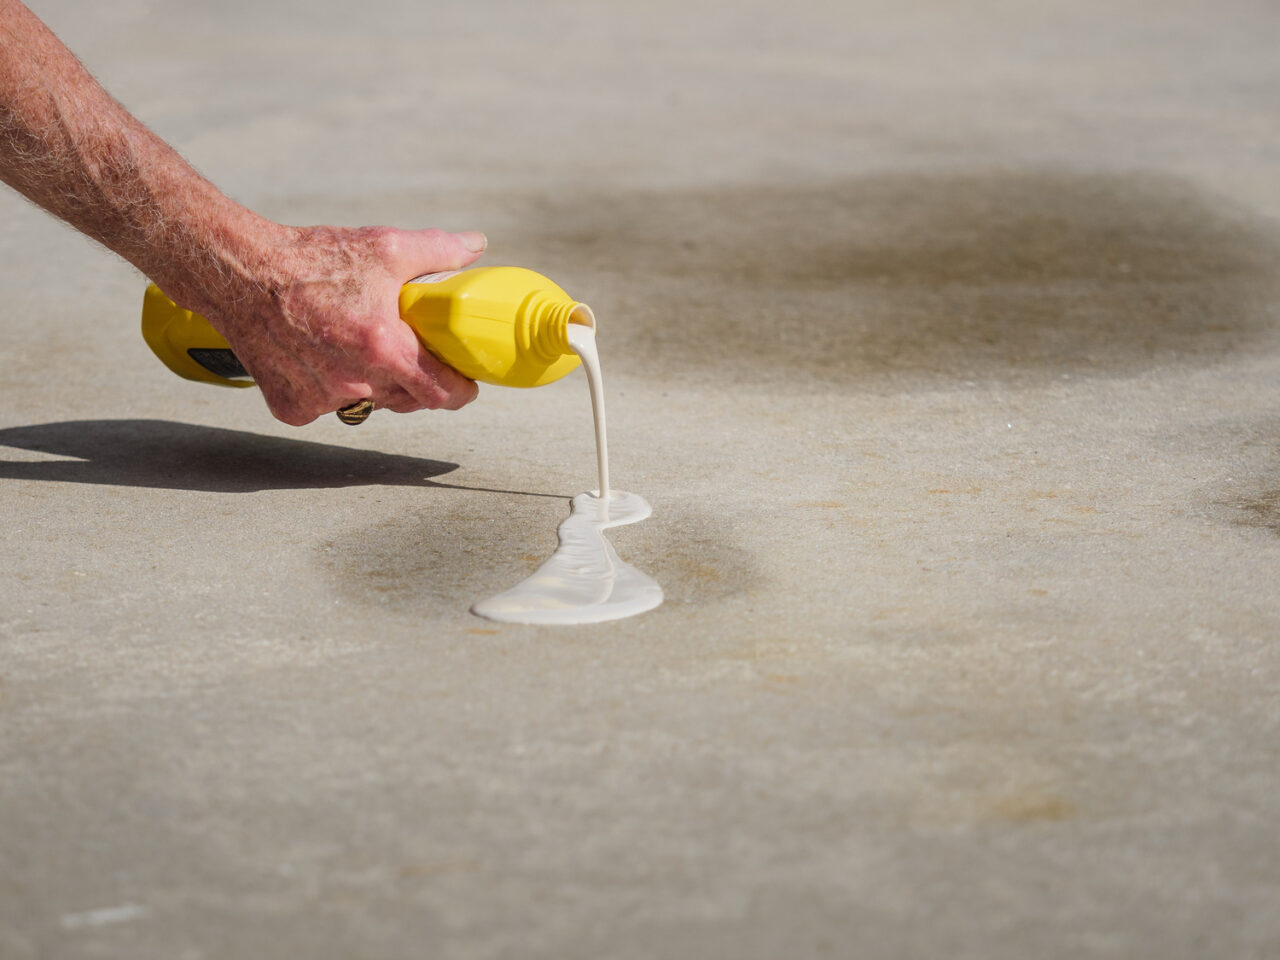
For all existing concrete, start by inspecting for stains and residues. Driveways collect motor oil, tire polymers, de‑icing residue, and many other misc stains. Try to spot treat each one with the correct products: degreaser for oils and tire marks, an oxygen‑based cleaner for organics, and a dedicated rust remover for metal stains. Do not mix cleaners and do not allow them to dry on the surface.
After spot treatment, wash the entire driveway with a concrete‑safe detergent. A pressure washer with a surface‑cleaner head delivers a uniform clean that prevents faint stripes from showing through the finished sealer. Rinse in sections until runoff is clear. If you used an acidic cleaner for rust or mineral deposits, neutralize with a mild alkaline rinse per label directions and rinse again.
Allow the surface to completely dry. Warm, breezy conditions can dry a driveway in 24 to 48 hours. Shaded areas may take a little longer. To make sure it is dry enough, you can do a quick water‑drop test by placing a few drips of water on the concrete. If water soaks in evenly rather than beading at random, the pores are clean and open. If everything looks good, you’re ready to apply sealer.
If you want to be extra careful about where the sealer is applied, make sure to mask any edges or materials you want to protect. It might be beneficial to stage tools so you can apply your sealer without stopping to move things around.
Tips for Applying Driveway Sealer
Application is where technique and attention to detail pays off. Work when conditions are right: temperatures in the manufacturer’s window, low wind, and no rain forecast through the curing period. Work in the shade when possible to slow flash‑off and maintain a wet edge. Stir the sealer gently rather than shaking to limit bubbles. Test a small, low‑visibility area to confirm appearance and coverage.
For penetrating sealers, use a low‑pressure sprayer and apply two wet‑on‑wet passes: the second pass goes on while the first is still damp so both soak in. Back‑roll lightly to level any puddles. Do not flood the surface. Wipe off excess before it dries if any areas remain shiny or tacky after several minutes.
For acrylic film‑formers, apply two thin coats rather than one heavy coat. Cut in edges with a brush or small roller, then use a 3/8 in nap roller for the field. Cross‑roll the second coat at right angles to the first to even out coverage. Add a compatible non‑slip additive to the second coat if the finish is smooth. Respect the recoat window so you do not trap solvent or water between coats.
Keep foot traffic off the driveway until the product reaches initial cure, often 24 hours. Keep vehicles off for 48 to 72 hours or per label. Be gentle with steering and avoid tight turns for the first week with acrylics so you do not scuff the film. Penetrating sealers are more forgiving but still need time to finish their chemical reaction in the pores.
Sealing Driveways vs Patios, Sidewalks, and Pool Decks
Your driveway is not the only slab that benefits from a thoughtful sealer. The differences below help you pick the right product and technique by surface type.
Sealing Driveways
Driveways see vehicles, hot tires, oil drips, and de‑icing chemicals. A penetrating silane or silane‑siloxane sealer is usually the best fit because it resists salts, does not alter traction, and will not show hot tire pickup. If the driveway is stamped and you want color pop, an acrylic can work with non‑slip additives and thin coats.
Sealing Patios
Patios collect spills, leaf stains, and furniture rust. Acrylic film‑formers can highlight texture and color on stamped patios. If the patio is broom‑finished and you prefer a natural look, a penetrating sealer keeps cleanup easy without changing appearance. Either way, clean well before sealing so you do not lock in stains.
Sealing Sidewalks
Sidewalks benefit from a penetrating sealer for protection with no change in footing. Because sidewalks are often narrow and shaded, plan for extra drying time after washing before you seal.
Sealing Pool Decks
Pool decks see sunscreen oils, splashout, and even light algae around water features. Choose a breathable, penetrating sealer for most decks so traction stays predictable. If you prefer a film‑forming look, use a non‑slip additive and a product rated for wet areas. Always rinse away from the pool during prep and allow full dry‑down before sealing.
Resealing and Long‑Term Care
A simple maintenance plan keeps sealing concrete driveway work on schedule. Expect penetrating sealers to last roughly 3 to 5 years depending on exposure. Acrylic films on driveways may need attention every 2 to 3 years, sometimes sooner on sunny, high‑traffic aprons. The water‑drop test is a quick indicator: when water darkens the surface quickly in multiple test spots, it is time to reseal.
Clean before every reseal. Even the best sealer struggles to bond over oil, tire polymers, or soap film. For acrylics, confirm compatibility with the previous product to avoid lifting or hazing. Avoid over‑application. More is not better and heavy coats can turn cloudy or become slippery. Thin, even coats are always best.
In winter, use plastic‑edge shovels or rubber‑edged snow blowers on all sealed surfaces. Salt and chemical de‑icers are hard on concrete and sealer films, so use them thoughtfully and follow product guidance (unpopular opinion, but we recommend avoiding them all together). These small habits keep the finish looking clean for years.
Common Mistakes to Avoid when Sealing Your Concrete Driveway
Most sealer problems come from the same small missteps. Knowing these before you start will save time and frustration.
- Applying sealer to damp concrete: moisture causes whitening and poor adhesion
- Skipping deep cleaning: oils and tire polymers block penetration and film bonding
- Putting film‑forming sealer on too thick: heavy coats trap solvent or water and scuff easily
- Ignoring recoat and cure times: rushing leads to soft films and track marks
- Using film‑forming products without non‑slip additives on smooth surfaces: traction suffers
- Sealing new concrete too soon: un‑cured slabs can trap moisture and outgas under film
A careful pace and thin coats are your best friends. Take an extra day to dry and you will gain years of reliable protection.
Built Right and Sealed Right with Kali Concrete
If your driveway has widespread scaling, deep cracking, settlement, or a patchwork of old repairs, it is probably past the point where a clean and seal will deliver the look and protection you want. In those cases, a well designed replacement is the smarter investment. Our team at Kali Concrete specializes in new and replacement driveways, patios, sidewalks, and pool decks built for Minnesota conditions. We size the base, thickness, and reinforcement correctly, plan clean control joint layouts, and finish the surface to match your style. As part of every installation, we complete a professional clean and apply the appropriate sealer at the right time so your new concrete starts protected from day one.
Based in Belle Plaine, Minnesota, our team brings 40+ years of experience and is staffed entirely by local professionals with no outsourced crews. The owner is on every job site to ensure details are handled correctly from tear‑out to final seal. If you are unsure whether your slab is a candidate for resealing or ready for replacement, we will provide an honest assessment and a clear plan.
Contact Kali Concrete today for a free consultation and let’s build concrete that stands the test of time.